Though there will be a pocket bag inside, the finished double welt pocket looks very much like a large bound buttonhole.
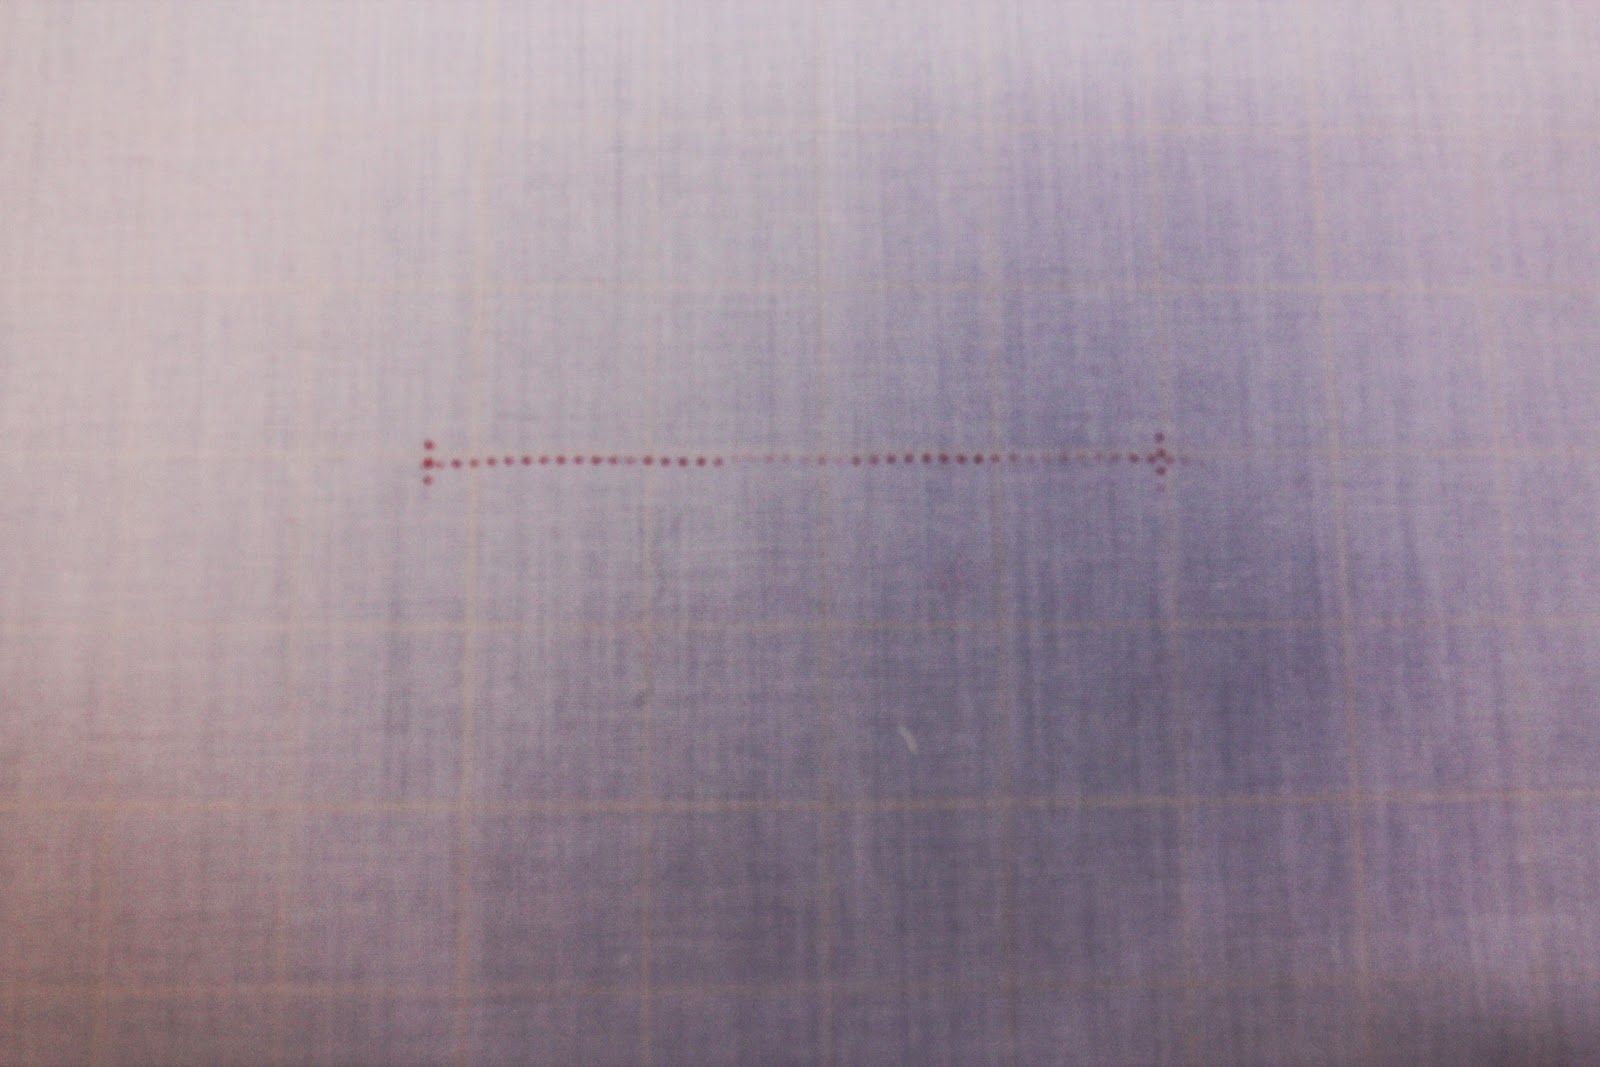
1. Mark pocket position on right side of fabric with your choice of marking method - tailor's chalk, tracing carbon or machine basting would work.

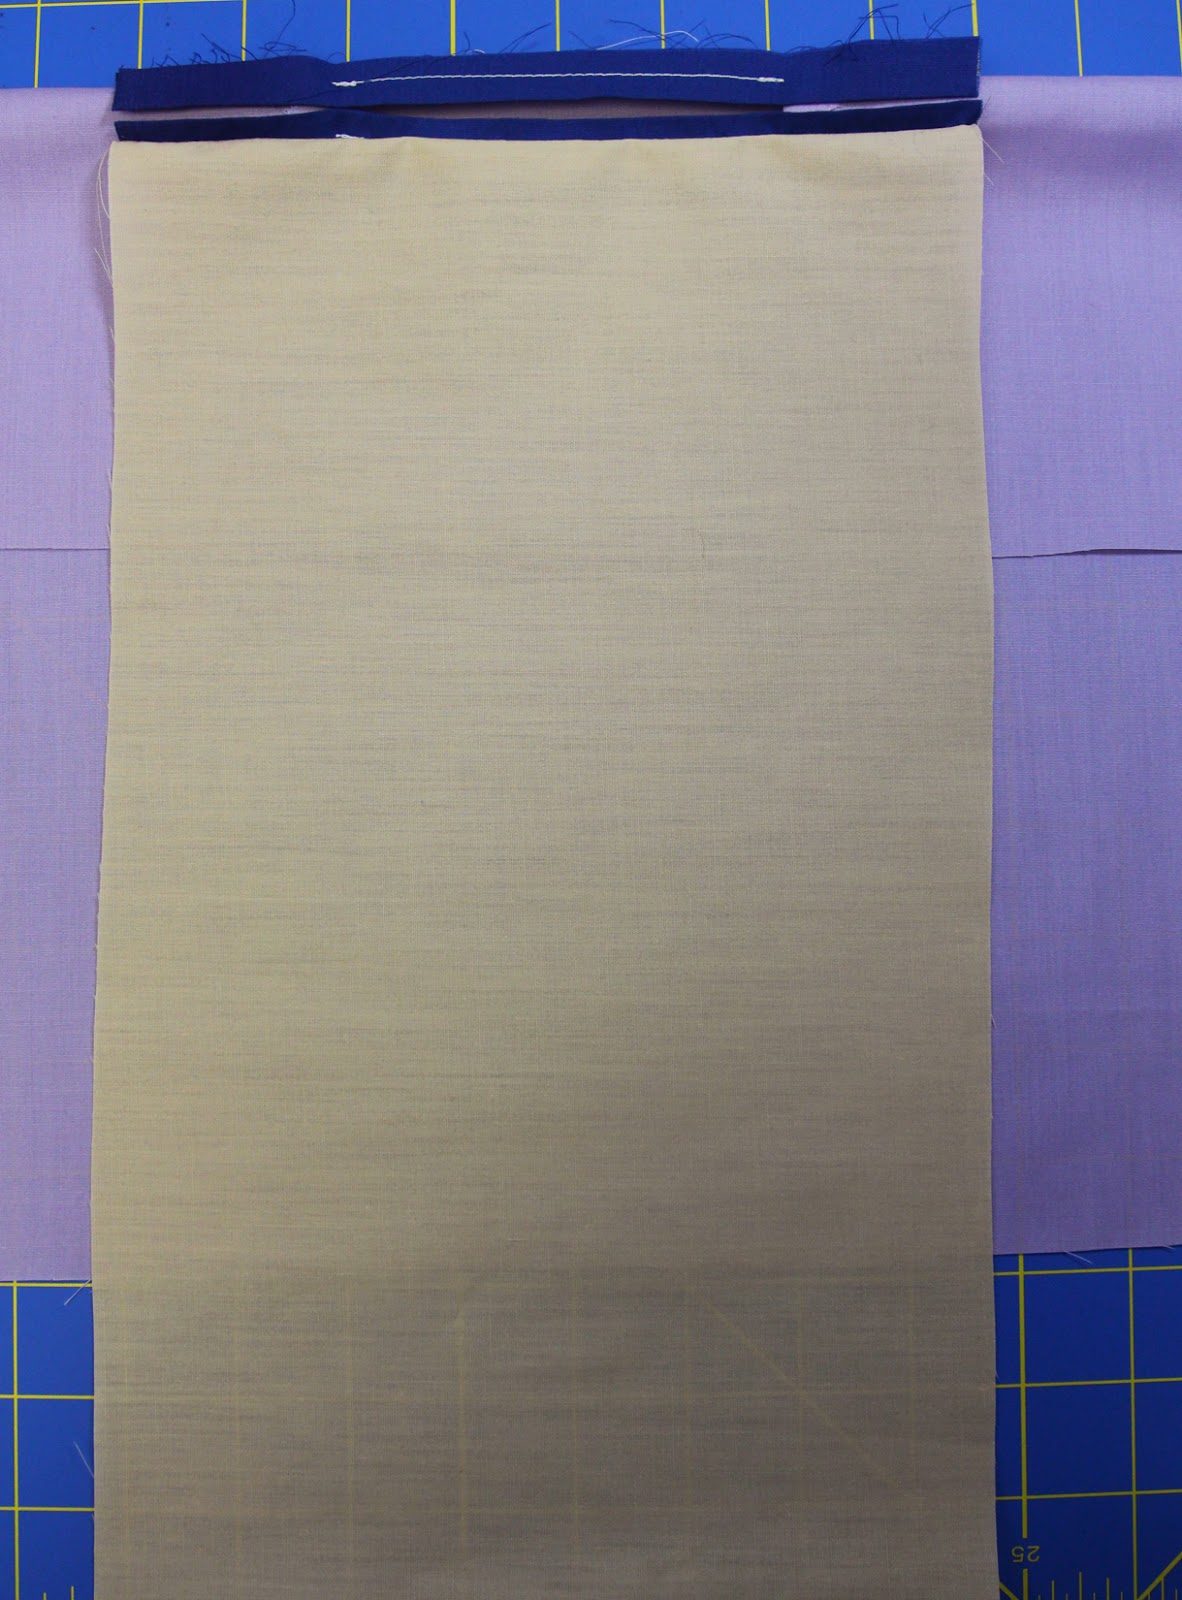
3. Fold welt in half, raw/cut edges together. Place the welt on the right side of the garment. Place the fold of the welt toward the outside and the cut edge is on marked pocket position.


- Cut the pocket opening. Cut down the middle stopping ½” – ¾” (1.3-1.9 cm) before end of pocket. Clip diagonally to backstitched points. Keep diagonal triangle longer, it’s easier to work with.

7. Inside pocket bag - cut the pocket bag the width of the welt plus double the depth you want the pocket to be.
8. On the inside, begin by stitching the (upper) edge of the pocket bag to the cut/raw edge of the top welt. With right sides together, begin on the welt extension, then as you stitch, you'll also sew through the fashion fabric on exactly the previous stitching. Be careful not to catch the triangle in this stitching.


9. a) Fold so that the lower welt is positioned to expose the cut edge of the welt and the bag is "down".


10. Fold the fashion fabric back to expose the welt extension and the triangular wedge tab. Stitch across the triangle flush to the body of the garment, stitching through the welt extensions and pocket bag.

11. Trim pocket bag width as desired. Then sew sides of pocket bag together including welt extensions.


If you've never sewn a double welt pocket, I highly recommend creating a sample from fabric that is lightweight, yet has a relatively crisp 'hand' so that when you press the fold in the welts and when you turn the welts to the inside they will press nice and flat.


