

In a nutshell, here are some of your options:
- If the knit doesn't run, some can be left just as the cut edge.
- Some knits will do well with a serged/overlocked edge, turned up 1/4" and topstitched.
- A decorative (serged) rolled and stretched lettuce edge might be appropriate for some garments.
- Perhaps simply folded to the inside and bonded with a fusible web will work for some knits.
- Consider using a blind hem for more stable double knits.
- Some knits will require stabilizing first - particularly those where the cut edge tends to curl. Then once turned to the inside could be cover stitched - if you have a cover stitch machine option.
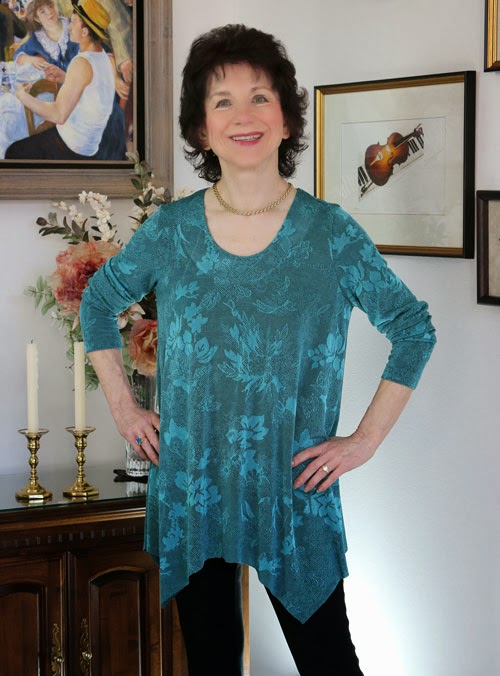
This is a slinky-type jacquard knit. The drape is lovely, it has a beautiful hand and is a stable knit - meaning it does not run. Because the hem goes up and down and up and down, it would have made it challenging to sew even a narrow 1/4" turned hem.
The solution - leave the cut edge as is.
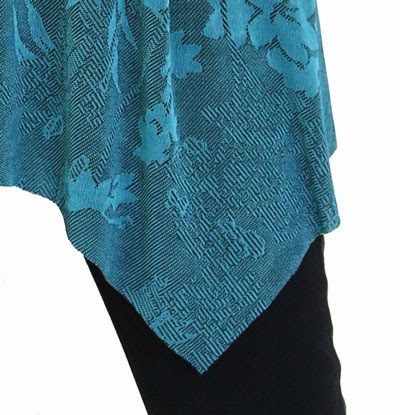
Here's a close-up of the cut edge. (I wish I'd bought more of this fabric in different colors - hind sight is always 20/20).
Next you'll see a much thinner knit where the edge is beginning to curl.
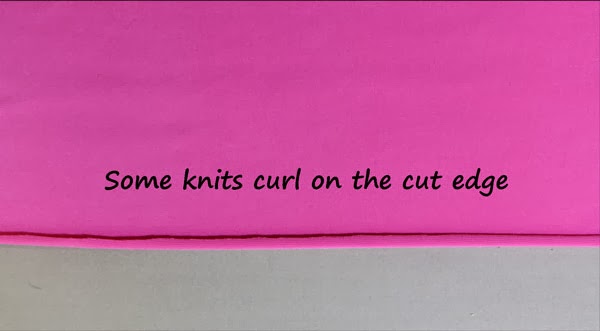
Some knits curl considerably more than this example.
And even though this next knit wasn't particularly 'curly', the fabric itself is quite thin and for a really nice hem, I stabilized it. I'll show you how
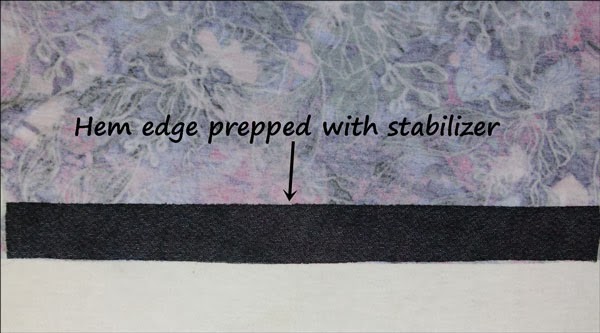
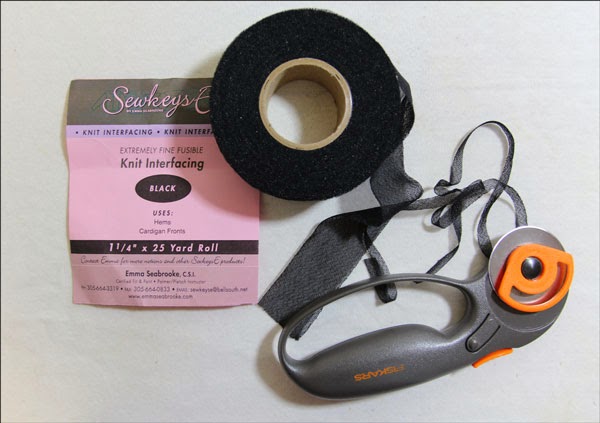
If you don't have a pre-cut roll of fusible interfacing, you can cut your strips from yardage. This roll is pre-cut at 1 1/4" wide. I wanted a 1" wide hem, so I very carefully trimmed away 1/4".
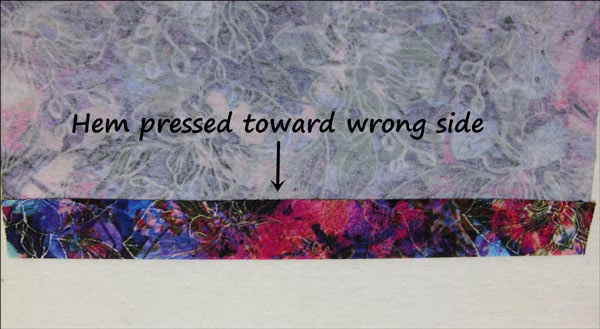
Then press the 1" hem toward the wrong side.
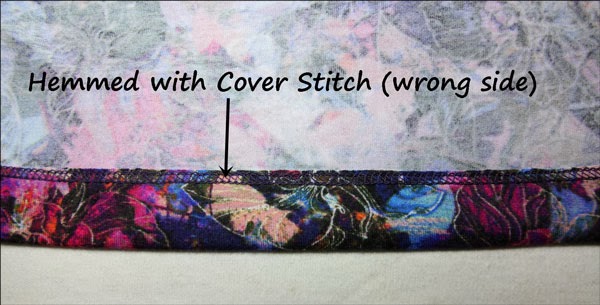
I used the Cover Stitch option on my BabyLock Evolution. This is what the inside looks like.
I love this Cover Stitch option. As long as your hem is perfectly lined up, the result is 2 perfectly spaced rows of stitching...just like in ready-to-wear. And by having added the fusible interfacing at the edge of the hem, the fabric laid flat and stable throughout the stitching process.

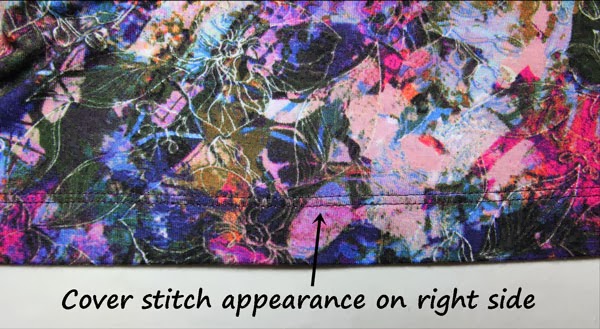
The outcome was just what I intended it to be.
Happy Hemming!

Glenda the Good Stitch
P.S. The side of the hem hikes up slightly on the right side. This was intentional. I inserted shirring elastic on the right side seam only which results in a slight asymmetrical drape at the hem - all part of the plan!